Connecting to your Raspberry Pi remotely without any paid services is an essential skill for tech enthusiasts and developers alike. Whether you're managing home automation systems, running a media server, or simply experimenting with IoT projects, knowing how to establish a free remote connection can save time and enhance productivity. This guide will walk you through everything you need to know about setting up and maintaining a seamless remote connection to your Raspberry Pi.
Remote access to Raspberry Pi opens up countless possibilities for automation, monitoring, and remote management. By leveraging free tools and open-source software, you can control your Raspberry Pi from anywhere in the world, without incurring any additional costs. This is particularly useful for projects that require constant monitoring or interaction, such as weather stations, security systems, or even personal cloud storage solutions.
In this comprehensive guide, we will explore various methods and tools to achieve a free remote connection to Raspberry Pi. From setting up SSH and VNC to configuring port forwarding and using dynamic DNS services, we will cover everything you need to know to ensure a reliable and secure connection. Let’s dive in!
Read also:Daria Sergeyevna Gordeevagrinkova A Detailed Exploration Of Her Life And Achievements
Table of Contents
- Introduction to Free Remote Connection on Raspberry Pi
- Using SSH for Remote Access
- Setting Up VNC for Graphical Remote Access
- Configuring Port Forwarding
- Dynamic DNS for Remote Access
- Recommended Tools for Free Remote Connections
- Ensuring Security in Remote Connections
- Troubleshooting Common Issues
- Alternative Methods for Free Remote Connection
- Conclusion and Next Steps
Introduction to Free Remote Connection on Raspberry Pi
Remote connection to Raspberry Pi allows you to access your device from anywhere, whether you're across the room or across the globe. This capability is especially valuable for projects that require off-site management or monitoring. By utilizing free tools and services, you can set up a secure and reliable connection without breaking the bank.
One of the most popular methods for free remote connection is using SSH (Secure Shell), which provides command-line access to your Raspberry Pi. For those who prefer a graphical interface, VNC (Virtual Network Computing) is an excellent alternative. Both methods are easy to set up and offer robust functionality for remote management.
Understanding the basics of networking, such as IP addresses, ports, and firewalls, is crucial for successfully establishing a remote connection. In the following sections, we will delve deeper into each aspect of setting up a free remote connection on Raspberry Pi.
Using SSH for Remote Access
What is SSH?
SSH, or Secure Shell, is a network protocol that enables secure communication between two devices over an unsecured network. It is widely used for remote command-line access and file transfer. SSH encrypts all data transmitted between the client and server, ensuring that sensitive information remains protected.
Enabling SSH on Raspberry Pi
To enable SSH on your Raspberry Pi, follow these steps:
- Open the Raspberry Pi Configuration tool by typing
sudo raspi-configin the terminal. - Select the "Interfacing Options" menu.
- Choose "SSH" and enable it.
- Reboot your Raspberry Pi to apply the changes.
Connecting via SSH
Once SSH is enabled, you can connect to your Raspberry Pi from another device using an SSH client. On Windows, PuTTY is a popular choice, while macOS and Linux users can use the built-in terminal. Simply enter the command:
Read also:How Tall Is Rob Lowe Discover The Height And Fascinating Facts About The Iconic Actor
ssh pi@your-raspberry-pi-ip-address
Replace your-raspberry-pi-ip-address with the actual IP address of your Raspberry Pi.
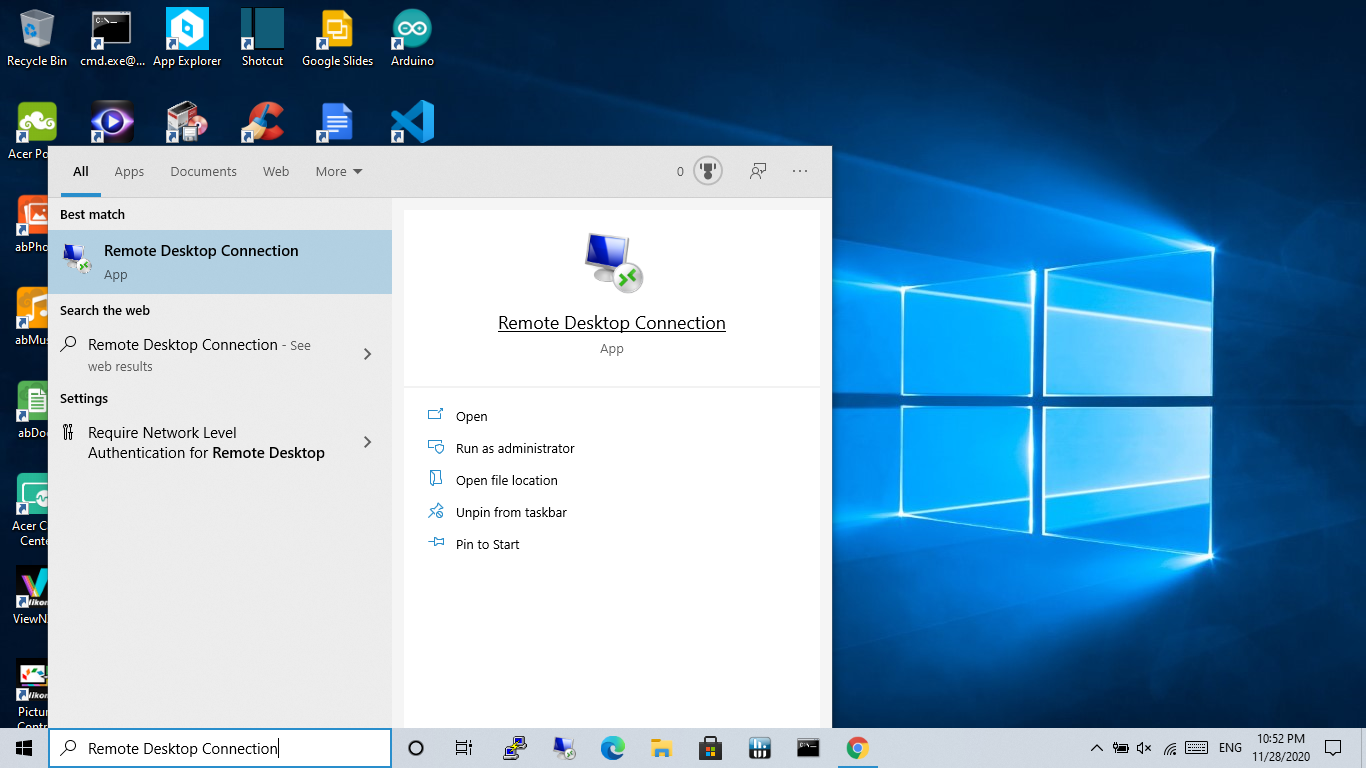
Setting Up VNC for Graphical Remote Access
What is VNC?
VNC, or Virtual Network Computing, allows you to remotely control another computer's desktop environment. Unlike SSH, which provides command-line access, VNC offers a graphical interface, making it ideal for users who prefer a visual approach.
Installing VNC Server on Raspberry Pi
To set up VNC on your Raspberry Pi, follow these steps:
- Open the terminal and type
sudo apt updateto update your package list. - Install the VNC Server by running
sudo apt install realvnc-vnc-server realvnc-vnc-viewer. - Enable VNC by navigating to the Raspberry Pi Configuration tool (
sudo raspi-config) and selecting "Interfacing Options"> "VNC"> "Enable".
Connecting via VNC
After setting up the VNC server, download and install the VNC Viewer app on your client device. Enter the IP address of your Raspberry Pi to establish a connection and access its graphical interface.
Configuring Port Forwarding
Port forwarding is a networking technique that allows external devices to connect to a device within your local network. By configuring port forwarding on your router, you can access your Raspberry Pi from outside your home network.
To set up port forwarding:
- Log in to your router's admin panel using its IP address (usually
192.168.0.1or192.168.1.1). - Locate the "Port Forwarding" or "Virtual Server" settings.
- Add a new rule, specifying the port number (e.g., 22 for SSH or 5900 for VNC) and the internal IP address of your Raspberry Pi.
- Save the changes and test the connection.
Dynamic DNS for Remote Access
Dynamic DNS (DDNS) services allow you to map a domain name to your changing IP address, making it easier to access your Raspberry Pi remotely. Since most home internet connections use dynamic IP addresses, DDNS ensures that you always have a consistent address to connect to.
Popular DDNS services include No-IP, DuckDNS, and Dynu. These services offer free plans that are sufficient for personal use. To set up DDNS:
- Create an account with a DDNS provider and register a domain name.
- Install the DDNS client on your Raspberry Pi to automatically update the IP address.
- Use the domain name to connect to your Raspberry Pi instead of the IP address.
Recommended Tools for Free Remote Connections
Several tools and software can enhance your remote connection experience:
- SSH Clients: PuTTY (Windows), Terminal (macOS/Linux).
- VNC Clients: RealVNC Viewer, TightVNC Viewer.
- DDNS Services: No-IP, DuckDNS, Dynu.
- Network Scanners: Angry IP Scanner, Advanced IP Scanner.
Choosing the right tools depends on your specific needs and the operating system you are using.
Ensuring Security in Remote Connections
Security is paramount when setting up remote connections. Here are some best practices to protect your Raspberry Pi:
- Change the default password for the
piuser. - Disable password-based authentication and use SSH keys instead.
- Regularly update your Raspberry Pi's software to patch vulnerabilities.
- Use a strong firewall to restrict unauthorized access.
By following these guidelines, you can minimize the risk of unauthorized access and ensure a secure remote connection.
Troubleshooting Common Issues
Despite careful setup, you may encounter issues when establishing a remote connection. Here are some common problems and their solutions:
- Unable to Connect: Verify the IP address and ensure that port forwarding is correctly configured.
- Connection Timeout: Check your firewall settings and ensure that the necessary ports are open.
- Authentication Failure: Double-check your username and password, and ensure that SSH keys are properly set up.
If the issue persists, consult the documentation for your router or seek help from online forums.
Alternative Methods for Free Remote Connection
While SSH and VNC are the most common methods for remote access, there are alternative approaches you can explore:
- Web-Based Interfaces: Set up a web server on your Raspberry Pi to access it via a browser.
- Cloud Services: Use free cloud platforms like AWS or Google Cloud to host your Raspberry Pi applications.
- Third-Party Apps: Tools like TeamViewer or AnyDesk offer free versions for personal use.
Each method has its own advantages and limitations, so choose the one that best fits your requirements.
Conclusion and Next Steps
Setting up a free remote connection to your Raspberry Pi is a valuable skill that can enhance your projects and streamline your workflow. By leveraging SSH, VNC, port forwarding, and dynamic DNS, you can establish a secure and reliable connection without incurring any costs. Remember to follow best practices for security and regularly update your software to protect your device.
We encourage you to experiment with different methods and tools to find the setup that works best for you. Don't forget to share your experiences and insights in the comments below. For more tutorials and guides, explore our other articles and stay updated with the latest developments in Raspberry Pi technology.